In this article:
What are Attributes?
Attributes are fields that can store information about records like contacts and properties in Fello. These attributes can be used while performing various actions such as sorting, column customization, filters for contacts, automations, workflows, and more.
To view all of the available attributes:
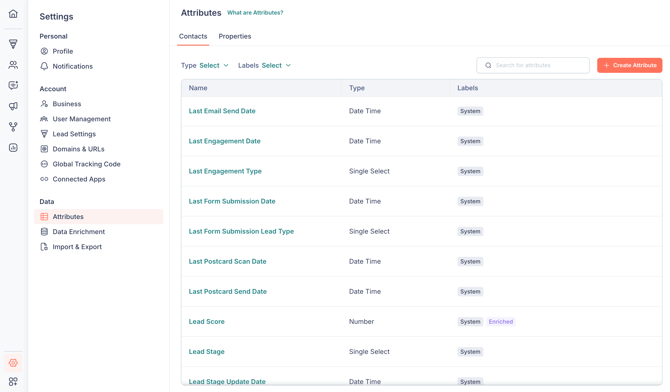
- Click on Settings from the bottom-left corner.
- Navigate to the Attributes page under Data.
Here, you can switch between the Contacts and Properties tabs to view attributes for them. Whether you're about to import new contacts into Fello or troubleshooting a sync issue, this centralized hub helps ensure you're working with the right data at every step.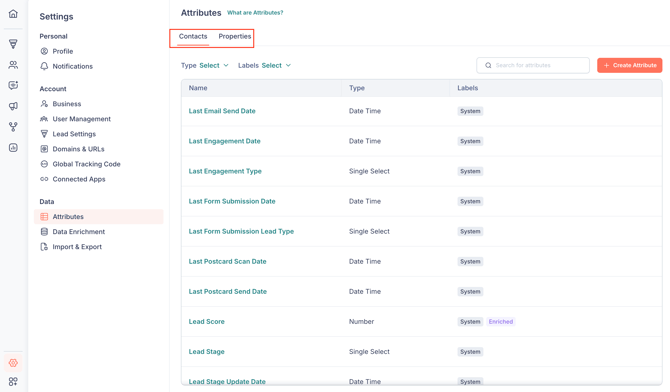
The list of attributes contains the following information:
-
- Name: The display name of the attribute.
- Type: The filed type of the attribute. Each attribute is designed to hold certain type of data, or to be in a certain format, such as Date & Time, Number, or Single-Line Text.
- Label: The following labels applied to attributes automations by Fello:
- System: These are system-provided attributes that cannot be modified.
- Enriched: These are attributes that have been filled in or updated through Fello’s data enrichment processes, such as address enrichment or DNC (Do Not Call) verification. The Enriched label may also appear on certain attributes—like property or mortgage details—that aren’t directly updated by data enrichment but are sourced from MLS or public records (PR).
- Custom: These are attributes that you can create and update by yourself. Learn More
You can also click on any of the attributes from the list to view more information about them, like an attribute's internal name (API name) or a description of the attribute. 
Viewing Attributes & History for Records
To view a list of all of the attributes and their data for a particular contact or property:
- Go to Contacts from the left sidebar.
- Select a contact or property.
- Click the 3-dot icon near the record's name in the top-left corner.

- Select View All Attributes.
You can now view all of the attributes and data associated with that record. Some attribute details can be changed directly from this view by clicking the Edit (pencil) icon next to them. 
The Attribute History feature is a powerful tool that can help you get to the root cause of data discrepancies quickly and is similar to an audit log for each record. This comes in handy when you have multiple users or workflows that update contact or property details. It enables you to check when and by whom an attribute was updated for a particular record at any time. To view the attribute history:
- Go to Contacts from the left sidebar.
- Select a contact or property.
- Click the 3-dot icon near the record's name in the top-left corner.

- Select View Attribute History.

Whenever a change has been made to an attribute, it will appear here.
Updating Attribute Values
You can update values for an attribute in a few ways:
-
Directly from the Contact or Property's details page, by clicking the Edit (pencil icon) near an attribute.
- Via workflows, by using the "Update Attribute" action.
- Via supported Connected Apps, such as Follow Up Boss.
🗒️ Note: Some System attributes are updated automatically by Fello and cannot be updated manually.
Custom Attributes
Fello allows you to create and manage custom attributes to store any additional information that you want for contacts and properties.
In this section:
Create Attributes
To create a custom attribute:
-
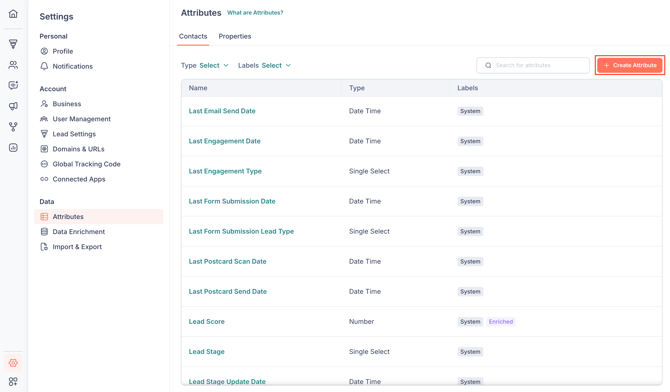
Go to Settings > Attributes.
- Click + Create Attribute.
- Select the Object. (This is the object for which you want to store data in this attribute, that is, Contacts or Properties.)
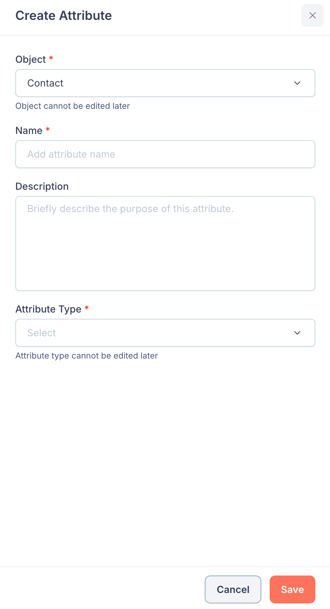
- Enter a Name and Description for the attribute.
- Select the Attribute Type based on the data that you want to store in the attribute:
The following attribute types are available:- Single-Line Text
- Multi-Line Text
- Single Select
- Multi Select
- Number
- Percentage
- Currency
- Checkbox
- Phone Number
- Click Save.
Now, the custom attribute has been created and you can start using it to store data.
Edit Attributes
After an attribute has been created, you can edit its name and description. To do this:
-
Go to Settings > Attributes.
- Hover over an attribute in the list page and click Edit (pencil icon).
- Make the necessary changes and click Save.
🗒️ Note: You cannot edit the Object and Attribute type once an attribute has been created.
Delete Attributes
You can update or delete attribute values for individual records. However, deleting an attribute itself isn’t supported yet and is planned for a future release.
In the meantime, if you need to delete an attribute, please reach out to support@fello.ai.