Inviting Users
To invite your team members to Fello:
- Go to Settings > User Management.
You will now be able to see a list of all the current users along with their roles. - Click Invite User in the Users section.
Prerequisite: Your role must have permission to configure users.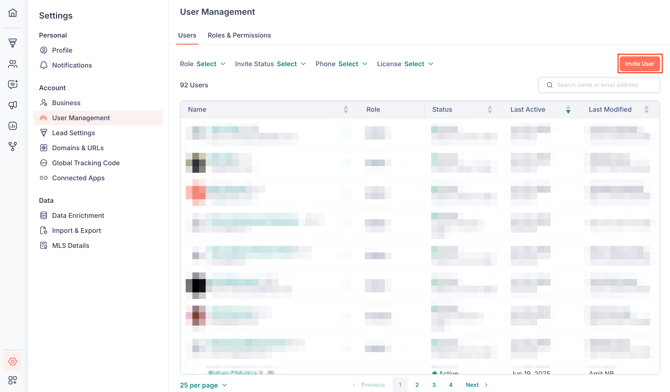
- Add your team member's email address and select their role. You can also add multiple email addresses to invite users in bulk.

- Mark the Send Invite Email option if you’d like to send an invite email, from which your users can access their Fello account and configure a password.
- Click Invite Users.
Your team members can start using their account as soon as they have accepted the invitation in their email. Once accepted, their status will change from Invited to Active.
Managing Users
Once you’ve added or invited a user to Fello, you can perform the following actions for their account by going to Settings > User Management.
|
ACTION |
DESCRIPTION |
STEPS |
|
Edit User Information |
Edit your users’ information such as their name and contact details. |
Click the Edit (Pencil) icon near a user under the Users section. |
|
Change User Roles & Permissions |
Change your users’ default roles as your team evolves, or configure custom permissions for a particular user. |
|
|
Emulate Users |
Access a particular user’s Fello account and perform actions on behalf of them. |
Click the More (3-dot) icon near a user under the Users section, and select Emulate User. |
|
Make Account Owner |
Grant a user full access to Fello with the Owner role. |
Click the More (3-dot) icon near a user under the Users section, and select Make Account Owner. |
|
Resend Invite |
Resend the Fello invitation email to your user, in case the initial one can’t be found or has expired. |
Click the More (3-dot) icon near a user under the Users section, and select Resend Email. |
|
Delete User |
Remove a user from Fello, thereby restricting their access. |
Click the More (3-dot) icon near a user under the Users section, and select Delete User. |